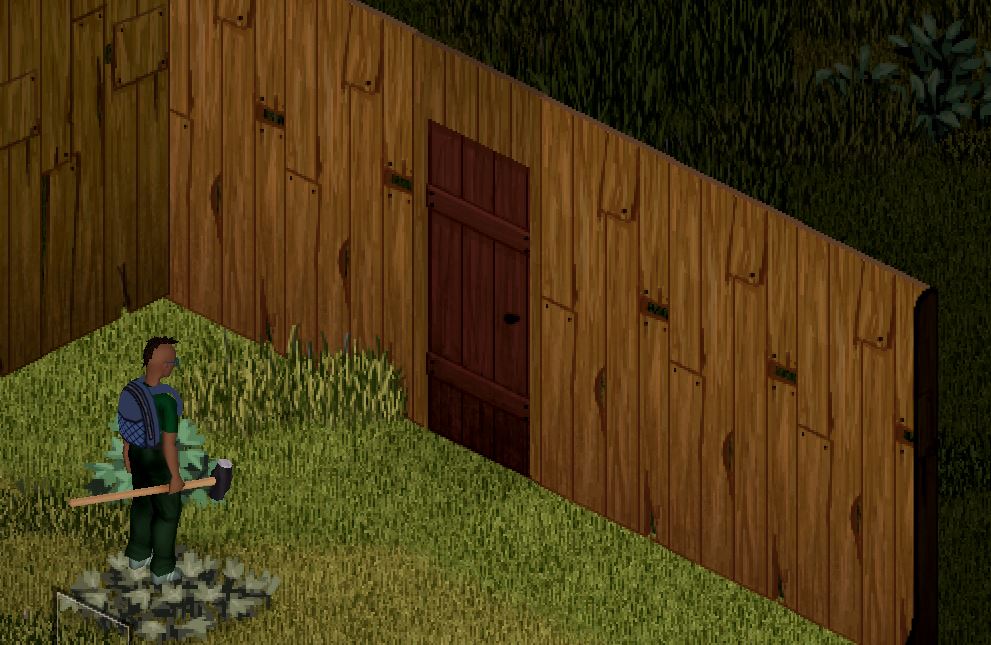
So you’ve finally found the perfect secluded spot for your little wooden hut in Project Zomboid. Chances are you’ve leveled up your Carpentry skill along the way so your can start crafting your own home. Building up the walls and windows is pretty straightforward but you can’t figure out how to build a door?
This guide will show you how to make a door in Project Zomboid and fit it into your house as well.
Required Materials
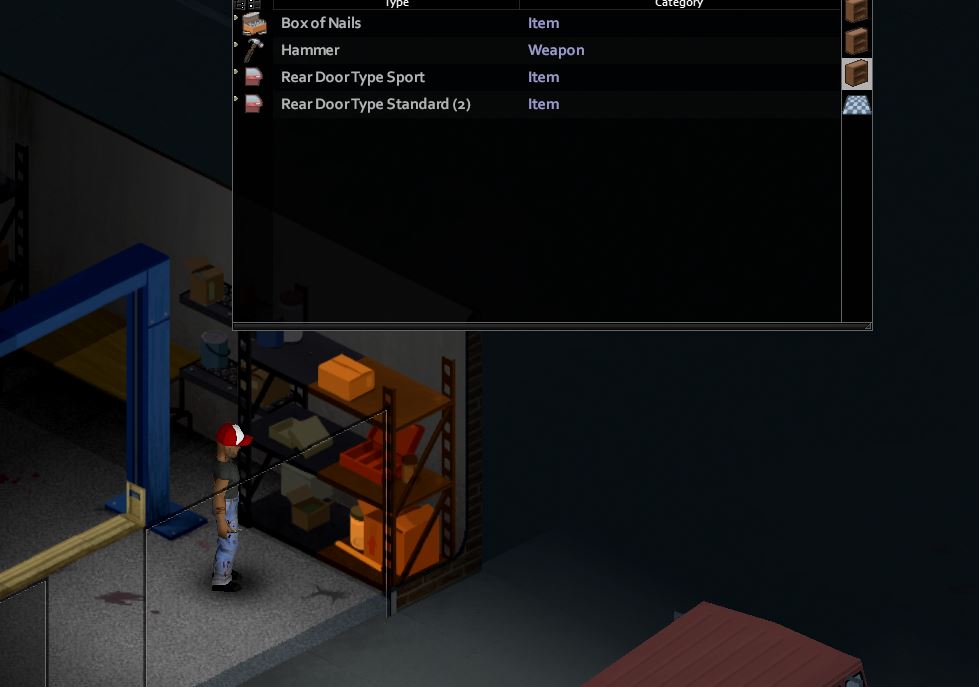
Before you can craft a door you will have to gather all of the materials required in order to craft it. You may not know this but there are two items that you will have to construct just to make a basic door. You will need to first craft and place a door frame before you can place down a door into it. Both of these will require some materials and skill in Carpentry as well. You can find the requirements for each of these structures below:
| Object | Materials/ Tools | Skill Req |
| Wooden Doorframe | 4 Plank, 4 Nails, Hammer | Lvl 2 |
| Door | 4 Plank, 4 Nails, 1 Doorknob, 2 Door Hinges, Hammer | Lvl 3 |
Once you have collected all of the materials above, you can start constructing! If you are having trouble leveling up your carpentry skill you can check out this guide to raising carpentry in Project Zomboid. It has a few tricks and tips to get you that experience quickly.
How to Build a Door
So you’re ready to put a door in that empty space in your walls? Great. Now that you have all the required materials and the skill level in Carpentry you can get to work! Before you can craft and place a door, you will have to craft a door frame first! In order to build a doorframe, follow these steps:
Building a Doorframe
- Equip a hammer
- Right-click on any open space
- Mouse over to expand to the options Carpentry > Door > Doorframe
- Select the doorframe
- Rotate the frame using the R key and place it down in the gap in your walls
- Wait for your character to move over to the area and build it
Now you should have an empty doorframe in your house which will look like the image below.
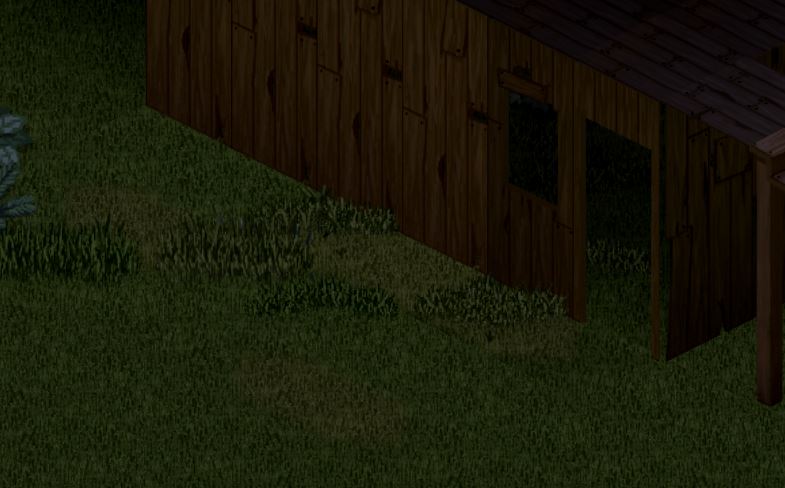
You can see that this can be walked though by your character already. Great for mobility, not so great for keeping out the undead. So to that avail, we are going to be constructing a door to place inside of this frame.
Building and Placing a Door in Project Zomboid
Once we have a frame, we can now place a door inside of it. keep in mind that the frame that you build a door in doesn’t necessarily have to be built by you! You can build a new door into any old doorframe you find around the map. So if the undead have town their way through a house, you can rebuild to your heart’s content.
To build and place a door in this newly created doorframe follow these steps:
- Equip a hammer
- Right-click to open up the action menu.
- Mouse over and expand the following options: Carpentry > Door > Wooden Door
- Select the Wooden Door
- Place this into the area you wish to build the door
- Your character will begin building a door inside the empty doorframe
After following these steps you should have a fully functioning door in your house! Now you finally have a little distance between yourself and the zombies. You can open and close the door using the E key by default. You can also right-click and select the option to open/close the door as well.